Bathroom Tile Layout Guide: Calculating Cuts and Grout
Planning a bathroom tile layout requires careful measurement and calculation to minimize waste and ensure a professional appearance. This guide walks you through determining tile quantities, calculating necessary cuts, and accounting for grout lines so your project runs smoothly from start to finish. With the right approach, you’ll reduce mistakes and create a bathroom you’ll love.
Measuring Your Bathroom Space Accurately
Before you purchase a single tile, you need precise measurements of your bathroom surfaces. Start by measuring the height and width of each wall you plan to tile, including any niches, doorways, or windows. Write down measurements in both feet and inches to avoid conversion errors.
For floor installations, measure the length and width of the floor, breaking irregular shapes into rectangles. Take measurements at multiple points along each wall—bathrooms aren’t always perfectly square, and accounting for variations prevents problems later.
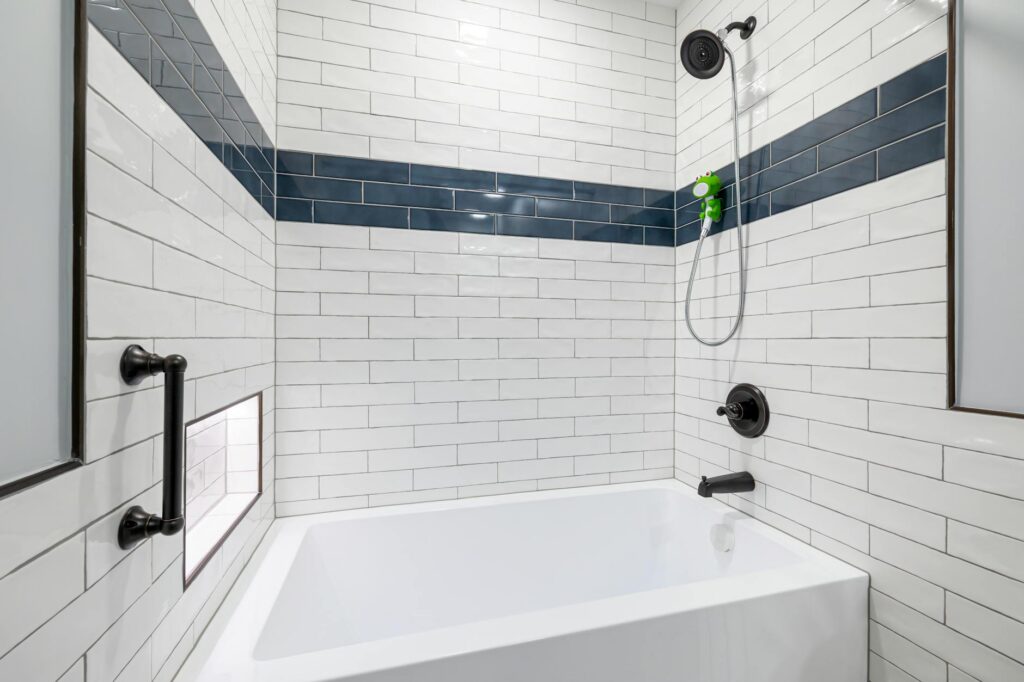
Document the location of fixtures like the toilet, vanity, bathtub, and shower. These elements affect your layout pattern and determine where cuts will be necessary. Photograph your bathroom and sketch a simple diagram showing dimensions and fixture placement. This visual reference becomes invaluable during the planning phase and helps identify potential issues before installation begins.
Don’t forget vertical surfaces in shower areas and above bathtubs. These spaces require the same careful measurement as walls. If you’re installing tiles in a shower niche or around a window, measure those areas separately and note their exact positions relative to surrounding surfaces.
Calculating Tile Quantity and Cut Requirements
Once you have measurements, calculate the square footage of each surface. For rectangular areas, multiply length by width. For irregular shapes, divide them into smaller rectangles, calculate each section, then add the totals together.
Most tiles are sold by the square foot, so knowing your total square footage helps you purchase the correct quantity. However, always add 10-15% extra to your calculation to account for waste, breakage, and future repairs. For intricate patterns or diagonal layouts, increase the waste factor to 15-20%.
Calculating cuts depends on your tile size and layout pattern. Standard bathroom tiles range from 4×4 inches to 12×12 inches. Measure from your starting point (typically the center of a wall or corner) and determine how many full tiles fit before reaching edges. Mark where cuts will occur, then count the number of partial tiles needed.
For edge tiles and corners, you’ll need cuts along the perimeter. Some cuts are simple half-tiles, while corner cuts require more precision. Measure each area requiring a cut individually rather than assuming all cuts are identical. Variations in wall length or plumbing placement create unique cutting needs.
Diagonal layouts and herringbone patterns require more cuts than straight layouts, so plan accordingly. Each diagonal tile needs angled cuts, and corners need special attention. If this is your first tile project, consider starting with a simpler layout pattern to minimize cutting complexity.
Planning Grout Lines and Layout Patterns
Grout line width significantly impacts your final tile count and appearance. Standard grout lines are 3/16 inch or 1/4 inch wide, though some modern installations use 1/8 inch lines for a minimalist look. Wider grout lines (3/8 inch or more) are less common in bathrooms but can create interesting design effects.
Factor grout line width into your layout calculations. When tiles are separated by grout, effective tile spacing increases. For example, 12×12 inch tiles with 1/4 inch grout lines actually occupy slightly more than 12 inches of wall space when installed. Calculate grout line impact on your total measurements before finalizing quantities.
Your layout pattern affects cut requirements. A centered layout, where full tiles start in the middle of a wall and partial tiles frame the edges, typically looks more balanced than layouts beginning in corners. Mark your center point, then work outward, noting where cuts will begin on each side.
Consider vertical and horizontal alignment across multiple walls. If a wall has a cutout for a window or niche, plan your tile pattern so cuts align vertically with cuts on adjacent walls when possible. This attention to detail creates a cohesive, professional appearance.
Stagger joint patterns for added visual interest and structural integrity. Running bond patterns, where each row’s grout joints offset from the row above, create movement and help conceal minor variations in wall straightness. Ensure your cut tiles follow your chosen pattern consistently throughout the space.
How to Use the Calculator
Take the guesswork out of your tile project with our tile calculator. Enter your wall height, width, tile dimensions, and grout line width. The calculator instantly shows total tile quantity, waste percentage, and number of partial tiles needed. This tool handles complex layouts and provides accurate cut requirements, saving time and reducing material waste. Use the calculator results alongside your measured sketches to create a complete ordering list.
Frequently Asked Questions
How much extra tile should I order for a bathroom project?
Order 10-15% extra tile for standard layouts and 15-20% for complex patterns like diagonals. This extra accounts for breakage, cuts, installation errors, and future repairs. Buying extra now prevents matching problems later if tiles are discontinued or color batches vary. Store unused tiles in a cool, dry location for several years in case repairs become necessary.
Should I account for grout lines when ordering tiles?
Yes, grout line width affects your calculations. Larger grout lines (1/4 inch or wider) require slightly more tiles to cover the same area. Measure your wall space accounting for grout line width, particularly when working with larger format tiles. The difference is usually small but becomes significant on large bathroom projects.
What’s the easiest tile layout pattern for a beginner?
Straight grid patterns using uniform square tiles are easiest for beginners. Standard 12×12 or 8×8 inch tiles in a straight layout minimize cutting and simplify installation. Avoid diagonal patterns, herringbone layouts, and mixed tile sizes until you have experience. Starting simple builds confidence and produces professional-looking results on your first bathroom tile project.
- Tile Cutter Tool Set — Essential tool for making precise tile cuts discussed in the guide; directly supports the cutting calculations mentioned in the post
- Grout and Sealant Kit — Core material for bathroom tile projects; complements the grout line calculations and planning covered in the guide
- Tile Spacers and Layout Tools — Practical tools for executing the tile layout planning and measuring techniques described in the post
Related: Tile Calculator: Floors, Walls & Grout Planning
Related: Free Bathroom Tile Calculator: Square Footage & Grout Guide 2026