Blown-in attic insulation typically costs between $1.50 and $3.50 per square foot, depending on material type, R-value requirements, and your climate zone. Most homeowners spend $1,500 to $3,000 to insulate a 1,000 sq ft attic, with deeper coverage in colder climates pushing costs higher. Understanding your local requirements and material options is essential for making this energy-efficient upgrade budget-friendly.
Understanding Blown-In Insulation Materials and Pricing
Blown-in insulation comes in three main materials, each with distinct cost and performance profiles. Fiberglass is the most affordable option at $0.60 to $1.20 per square foot for material alone, offering R-values of 3.2 to 3.8 per inch. Cellulose, made from recycled paper, costs $0.75 to $1.50 per square foot and provides superior R-values of 3.6 to 3.8 per inch, plus better air sealing properties.
Mineral wool is the premium choice at $1.25 to $2.00 per square foot, delivering R-values of 3.3 to 4.0 per inch along with fire resistance and moisture management benefits. When labor costs are factored in—typically $1.00 to $2.50 per square foot—your total investment reflects the material selection and installation complexity. According to the U.S. Department of Energy, proper attic insulation can reduce heating and cooling costs by 15-20%, making this investment recoverable within 5-8 years in most climates.
Climate Zones and Required R-Values
Your geographic location determines the minimum R-value needed for optimal energy efficiency. The U.S. Environmental Protection Agency divides the country into eight climate zones, each with specific insulation recommendations. Zone 1 (Hawaii, Southern Florida) requires R-19 to R-25, while Zone 7 (Northern Minnesota, Maine) demands R-49 to R-60 for attic spaces.
To achieve these R-values with blown-in insulation, you’ll need varying depths. Fiberglass requires approximately 13.5 inches for R-38 and 17.5 inches for R-49. Cellulose needs roughly 12 inches for R-38 and 15.5 inches for R-49 due to its superior insulating properties. Checking your local building codes is crucial—many jurisdictions now mandate higher R-values than previous standards, particularly in states with aggressive energy efficiency goals.
A homeowner in Minneapolis (Zone 6) installing 16 inches of cellulose to achieve R-49 in a 1,200 sq ft attic would spend approximately $2,400 to $3,600 on materials and labor combined. The same project with fiberglass might reach $3,000 to $4,200, making material selection financially significant over large areas.
Calculating Coverage and Project Scope
Accurate attic measurements are the foundation of cost estimation. Measure your attic’s length and width in feet, multiply them together, and that’s your square footage. Irregular attics with knee walls, dormers, or complex roof lines require zone-by-zone measurements. Many contractors charge premium rates for challenging geometries since installation takes longer and requires more precision work.
Existing insulation affects your project cost significantly. If your attic already has 4 inches of fiberglass, you typically only need to add material to reach your target R-value, reducing labor and material expenses. However, if old insulation shows moisture damage, settling, or pest contamination, complete removal (adding $0.50 to $1.00 per sq ft) becomes necessary.
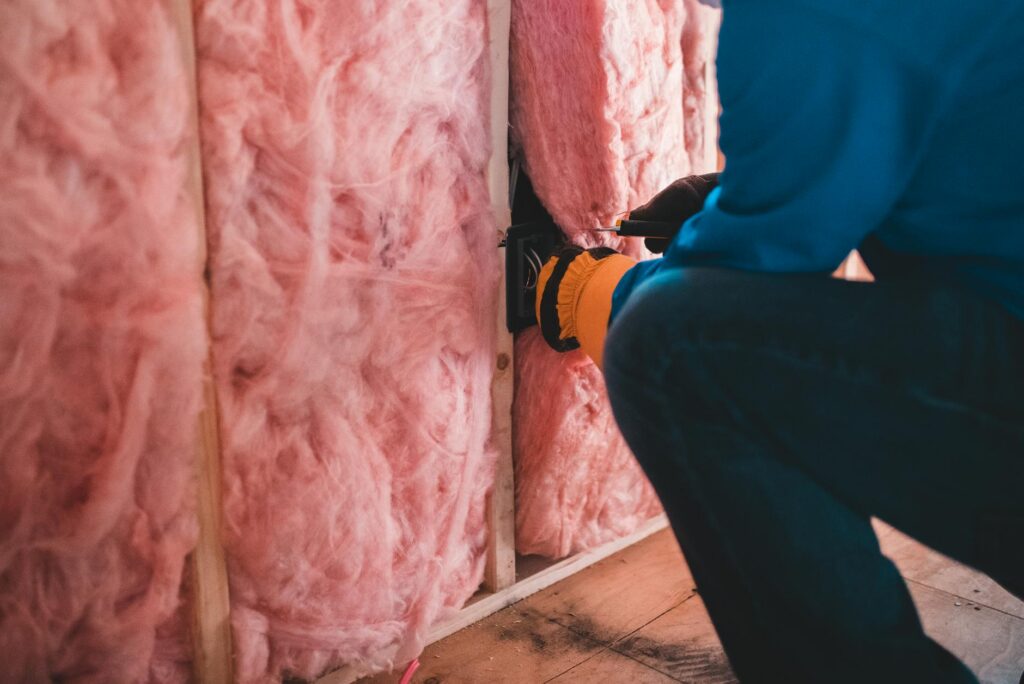
Air sealing before blown-in installation is highly recommended by energy professionals. Sealing gaps around electrical penetrations, HVAC ducts, and structural elements prevents warm or cool air from bypassing your new insulation. This typically adds $200 to $500 to your project but increases efficiency gains by 10-15%, making it a worthwhile investment.
How to Use the Calculator
To determine your exact costs and material requirements, use our insulation calculator to input your attic square footage, current R-value, target R-value, and material choice. The calculator instantly shows material costs, labor estimates, and payback period based on your energy savings potential. This personalized approach eliminates guesswork and helps you compare cellulose versus fiberglass versus mineral wool side-by-side for your specific climate and budget.
Frequently Asked Questions
Is blown-in insulation better than batt insulation?
Blown-in insulation excels at filling irregular spaces, around obstructions, and difficult-to-reach areas where batt insulation leaves gaps. These gaps can reduce overall effectiveness by 5-10%. However, blown-in requires specialized equipment, making DIY installation impractical for most homeowners. Batt insulation is more budget-friendly upfront for simple, rectangular attics with minimal obstructions, but blown-in typically delivers superior energy performance. The choice depends on your attic geometry—complex layouts favor blown-in, while simple rectangular spaces may justify batt installation.
How long does blown-in insulation last?
Fiberglass blown-in insulation typically lasts 25-30 years before settling noticeably reduces its R-value. Cellulose insulation lasts 20-25 years, though it settles slightly faster than fiberglass. Both materials are vulnerable to moisture damage and pest infiltration, which can shorten lifespan significantly. Proper ventilation, moisture management, and pest prevention can extend the effective life of either material. Many homeowners refinurbish attics every 15-20 years to restore thermal performance as materials gradually settle and compress.
Can I install blown-in insulation myself?
While equipment rental is available at most home improvement stores ($40-$75 per day), professional installation is recommended for safety, code compliance, and warranty protection. Improper installation creates voids, compresses material (reducing R-value), and may violate building codes or insurance requirements. Professionals ensure adequate ventilation around eaves, correct depth uniformity, and proper attic access completion. The labor cost ($1.00-$2.50 per sq ft) is typically justified by the superior results and peace of mind that your installation meets local standards.