When you’re tackling a home improvement project, one of the biggest challenges is figuring out exactly how much material you’ll need, what it will cost, and how long it will take. A DIY calculator removes the guesswork and helps you make informed decisions before you pick up a hammer or open your wallet. Whether you’re installing new flooring, painting a room, building a deck, or landscaping your yard, the right calculator can save you hundreds of dollars in wasted materials and prevent costly mistakes that require expensive fixes.
In this comprehensive guide, we’ll explore what DIY calculators are, why they’re essential for home improvement projects, and how to use them effectively to maximize your project success and budget efficiency.
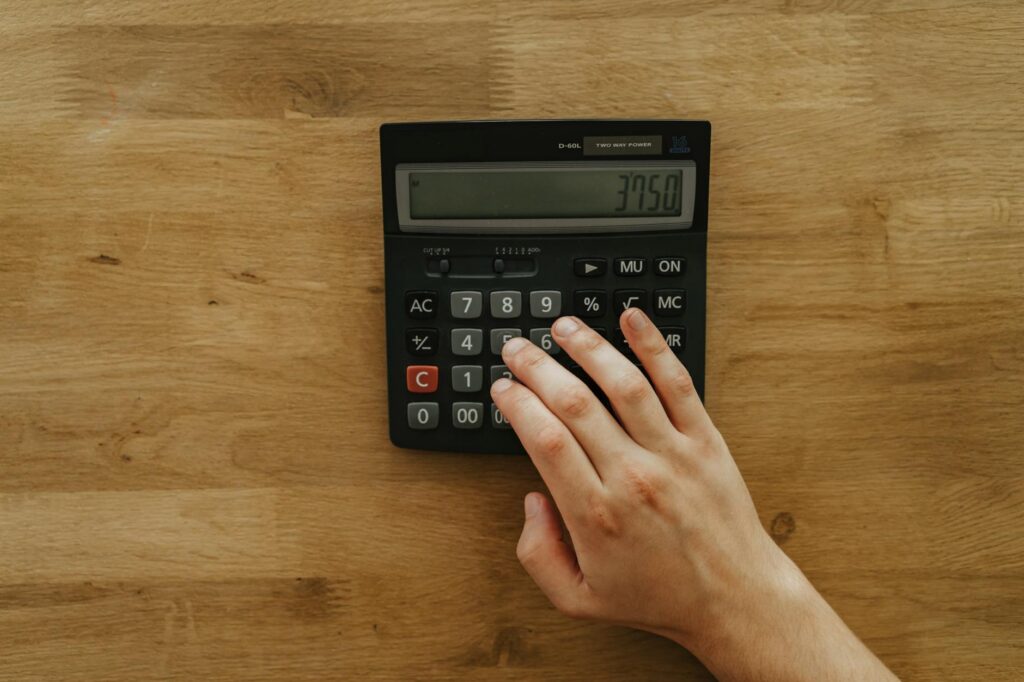
What Is a DIY Calculator and Why You Need One
A DIY calculator is a specialized tool designed to help homeowners and contractors quickly determine project requirements without manual calculations. These calculators use simple inputs—like room dimensions, material specifications, or project scope—to output precise estimates for materials needed, total costs, and sometimes labor considerations.
The primary value of a DIY calculator lies in accuracy and speed. Instead of spending an hour measuring, sketching, and doing math that might contain errors, you can input your measurements and receive instant results. For example, a flooring calculator might ask for your room’s length and width in feet, then tell you exactly how many square feet you need to cover, account for waste (typically 10-15%), and show the total cost based on material prices.
Beyond cost savings, DIY calculators help you avoid the frustration of running out of materials mid-project or purchasing far too much. They also serve as an educational tool, showing you the breakdown of costs and helping you understand where your money goes in a project.
Types of DIY Calculators Available
The variety of available DIY calculators is extensive, covering virtually every type of home improvement project. Understanding which calculator suits your needs is the first step toward successful project planning.
Construction and Building Calculators help with decking, framing, roofing, and concrete projects. A deck calculator, for instance, might require your desired deck dimensions and tell you how many joists, beams, fasteners, and finishing boards you’ll need.
Paint and Stain Calculators determine how much paint you need based on room square footage and number of coats. Most account for the fact that one gallon of paint typically covers 350-400 square feet per coat. If you’re painting a 400-square-foot room with two coats, you’d need at least 2-2.5 gallons.
Flooring Calculators help with tile, laminate, hardwood, or carpet installations. These tools consider your room dimensions and add waste factors (usually 10% for tile, 5-10% for laminate, and 5% for hardwood) to ensure you have enough material.
Landscaping Calculators estimate mulch, gravel, or soil needed for garden beds and determine grass seed or sod requirements based on lawn square footage.
Electrical and Plumbing Calculators help estimate wire gauge needs, outlet spacing, and pipe requirements for basic projects.
How to Use a DIY Calculator Effectively
Using a DIY calculator properly is crucial for accurate results. Follow these steps to get the most from any calculator you choose.
Step 1: Measure Accurately. Before you input any numbers, take precise measurements of your space. Use a measuring tape (not a ruler), and measure twice to confirm. For rooms, measure length and width in feet. For materials like paint, measure the total linear feet of walls or square footage of surfaces.
Step 2: Understand Your Material Specifications. Know the exact product you’re using. Different paint brands have different coverage rates. Flooring materials vary by thickness and type. Having product specifications on hand ensures your calculator produces accurate results.
Step 3: Input Your Data Carefully. Double-check numbers as you enter them. A single digit error—entering 20 feet instead of 25 feet—will throw off your entire estimate.
Step 4: Review the Waste Factor. Most DIY calculators automatically include waste percentages. Understand what percentage the calculator uses and whether it aligns with industry standards. For example, tile work typically wastes 10-15% for cuts and breakage, while paint might only need 5% extra.
Step 5: Compare with Multiple Sources. Run your measurements through multiple calculators to verify results. If one shows you need 50 square feet of tile and another shows 65 square feet, investigate why before purchasing.
Step 6: Add a Safety Margin. Even with accurate calculations, consider purchasing an extra 5-10% of materials beyond what the calculator recommends. This provides a buffer for unexpected waste, damage, or future touch-ups.
Real-World Calculator Applications and Cost Savings
Understanding how DIY calculators impact real projects illustrates their value. Consider a typical bathroom tile project in a 40-square-foot space. Without a calculator, a homeowner might estimate they need 40 square feet of tile. But accounting for 12% waste factor and the way tiles are cut, they actually need 45 square feet. At $8 per square foot, that’s a difference of $40 in materials alone. Multiply this across multiple projects, and the savings become substantial.
A flooring project provides another clear example. Installing 500 square feet of hardwood flooring without accounting for waste might lead to ordering exactly 500 square feet. In reality, accounting for cuts around door frames, corners, and mistakes, you might need 550-560 square feet. At $6-12 per square foot, that shortfall could cost $300-720 in rush orders or incomplete installation.
Paint projects showcase how calculators prevent overbuying. A homeowner planning to paint a 2,000-square-foot home might assume they need 6 gallons of paint at $30 per gallon ($180). A proper calculation might show they only need 5 gallons ($150), saving $30, plus they avoid storing extra paint that might dry out.
Common Mistakes to Avoid When Using DIY Calculators
Even with a quality calculator, mistakes happen. Being aware of common errors helps you avoid them. First, don’t skip measuring altogether or rely on rough estimates. Calculators are only as accurate as the data you feed them. Second, avoid using outdated material costs in the calculator. Prices fluctuate, so update cost assumptions regularly. Third, don’t ignore the fine print about what the calculator includes or excludes—some calculators might not account for underlayment, primer, or fasteners.
Another common mistake is using a calculator designed for a different material type. A general paint calculator might not account for specialty finishes like chalkboard or metallic paints, which have different coverage rates. Finally, don’t skip the verification step. Always cross-reference calculator results with product specifications from the manufacturer to catch discrepancies.
Frequently Asked Questions
How accurate are DIY calculators?
DIY calculators are typically accurate to within 95-99% when you input correct measurements and material specifications. The remaining margin of error comes from variations in application technique, surface conditions, and product quality. Always add a small safety margin to calculator recommendations to account for real-world variables.
What waste percentage should I plan for in my DIY project?
Waste percentages vary by material type: paint (5%), flooring (5-15%), tile (10-15%), roofing (10%), and framing lumber (5-10%). Most DIY calculators automatically include standard waste factors, but verify that the calculator’s assumptions match your specific project conditions and skill level. If you’re new to a project type, consider adding extra waste percentage for a safety buffer.
Can I use one DIY calculator for multiple project types?
No, you should use specialized calculators for each project type. A paint calculator won’t accurately estimate flooring needs, and a roofing calculator won’t help with deck construction. Each material type and project has unique variables that specialized calculators account for, so using the correct tool ensures the most accurate results.
Should I buy exactly what the calculator recommends?
No, you should buy slightly more than the calculator recommends—typically 5-10% extra. This provides a buffer for waste, mistakes, and future touch-ups. For materials like paint that don’t expire quickly, this insurance is especially worthwhile. For materials where cost matters significantly, verify the calculation is correct before purchasing extra.
How do I choose between different DIY calculators online?
Look for calculators from reputable sources with clear explanations of their methodology and assumptions. Check if the calculator allows you to input custom material costs or only uses default prices. Read user reviews and verify that the calculator accounts for standard waste factors in your industry. Test it with a project you’ve already completed to validate its accuracy.
Conclusion
A DIY calculator is an indispensable tool for any homeowner tackling home improvement projects. By accurately estimating materials needed, calculating total costs, and accounting for waste, these tools help you plan better, shop smarter, and execute projects with confidence. The time you invest in using a calculator properly pays dividends through reduced material waste, fewer expensive mistakes, and projects that stay within budget.
Whether you’re a seasoned DIYer or a first-time homeowner, incorporating calculator-driven planning into your workflow transforms how you approach projects. Instead of guessing and hoping you have enough materials, you’ll know exactly what you need before you start. This knowledge empowers you to negotiate better prices, reduce waste, and deliver professional-quality results.
Use Our Free DIY Calculator
Stop guessing about your home improvement projects. Head to our free DIY calculator at diycalculator.net to instantly determine material quantities, calculate total project costs in dollars, and
- Stanley Tape Measure 25ft — Essential measurement tool that works hand-in-hand with DIY calculators for accurate project planning and material estimation
- AccuRemote Digital Level — Precision measurement device that helps ensure accurate assessments and calculations for home improvement projects
- Bahco Handsaw Set — Popular DIY tool set that homeowners typically use for projects where calculators help determine material quantities and costs
If you do work for others professionally, general liability insurance protects you from property damage and injury claims. Hiscox makes it easy to get covered.
Get a Free Hiscox Quote →
Affiliate disclosure: We may earn a commission if you get a quote through this link, at no cost to you.
Related: The Complete Guide to DIY Calculators: Tools Every Homeowner Needs
Related: The Complete Guide to Using a DIY Calculator for Your Home Improvement Projects
Related: The Complete Guide to DIY Calculators: Save Time and Money on Your Home Projects
Related: Common DIY Project Mistakes: How to Avoid Poor Workmanship Results